If you’ve been running an earthworks operation for many years, the idea of replacing traditional survey methods with a drone surveying workflow may seem daunting. Even research online can feel like drinking from a fire hose, with all the information out there about hardware, software, and the science of photogrammetry.
To quiet the noise and information overload, we highlighted some tips and tricks that will help you get started with drone surveying.
#1: Familiarize yourself with local regulations
It’s always a good idea to get the lay of the land before you jump into any new project, and drone surveying is no exception. Commercial drone regulations vary by region, so there’s no one-size-fits-all instruction manual.
No matter where in the world you are, one rule holds true: you can’t simply launch a drone for commercial use without learning the rules of your local airspace, so check regional guidelines before you fly.
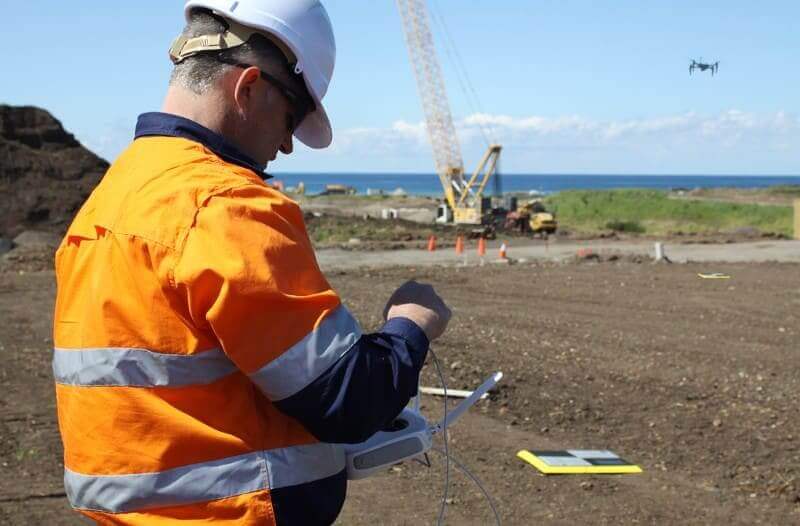
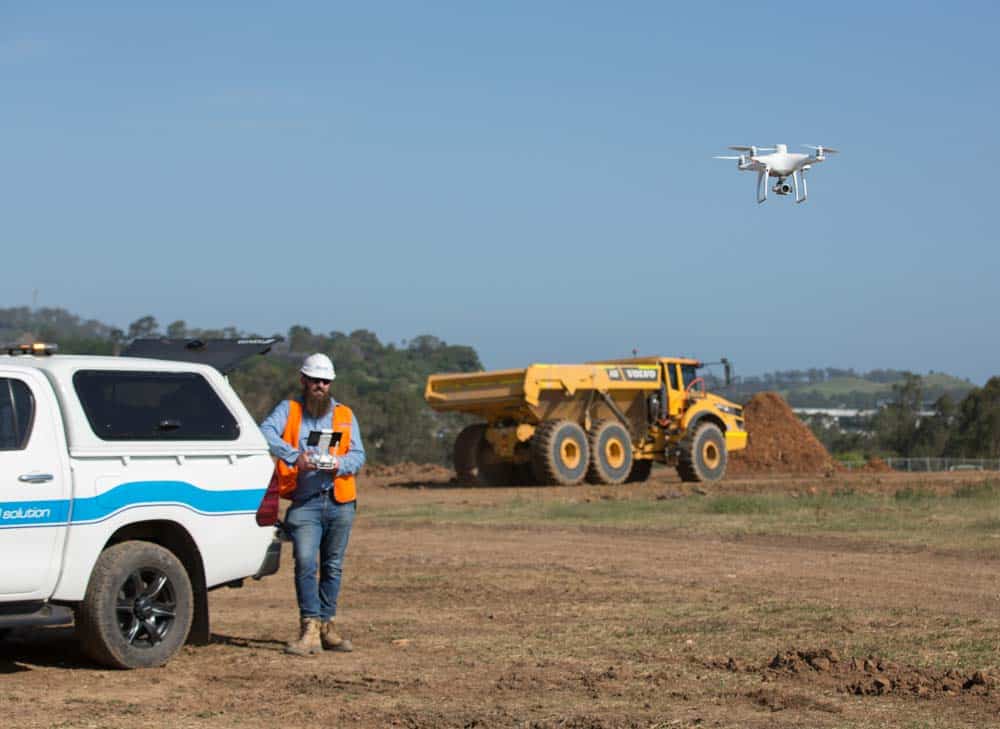
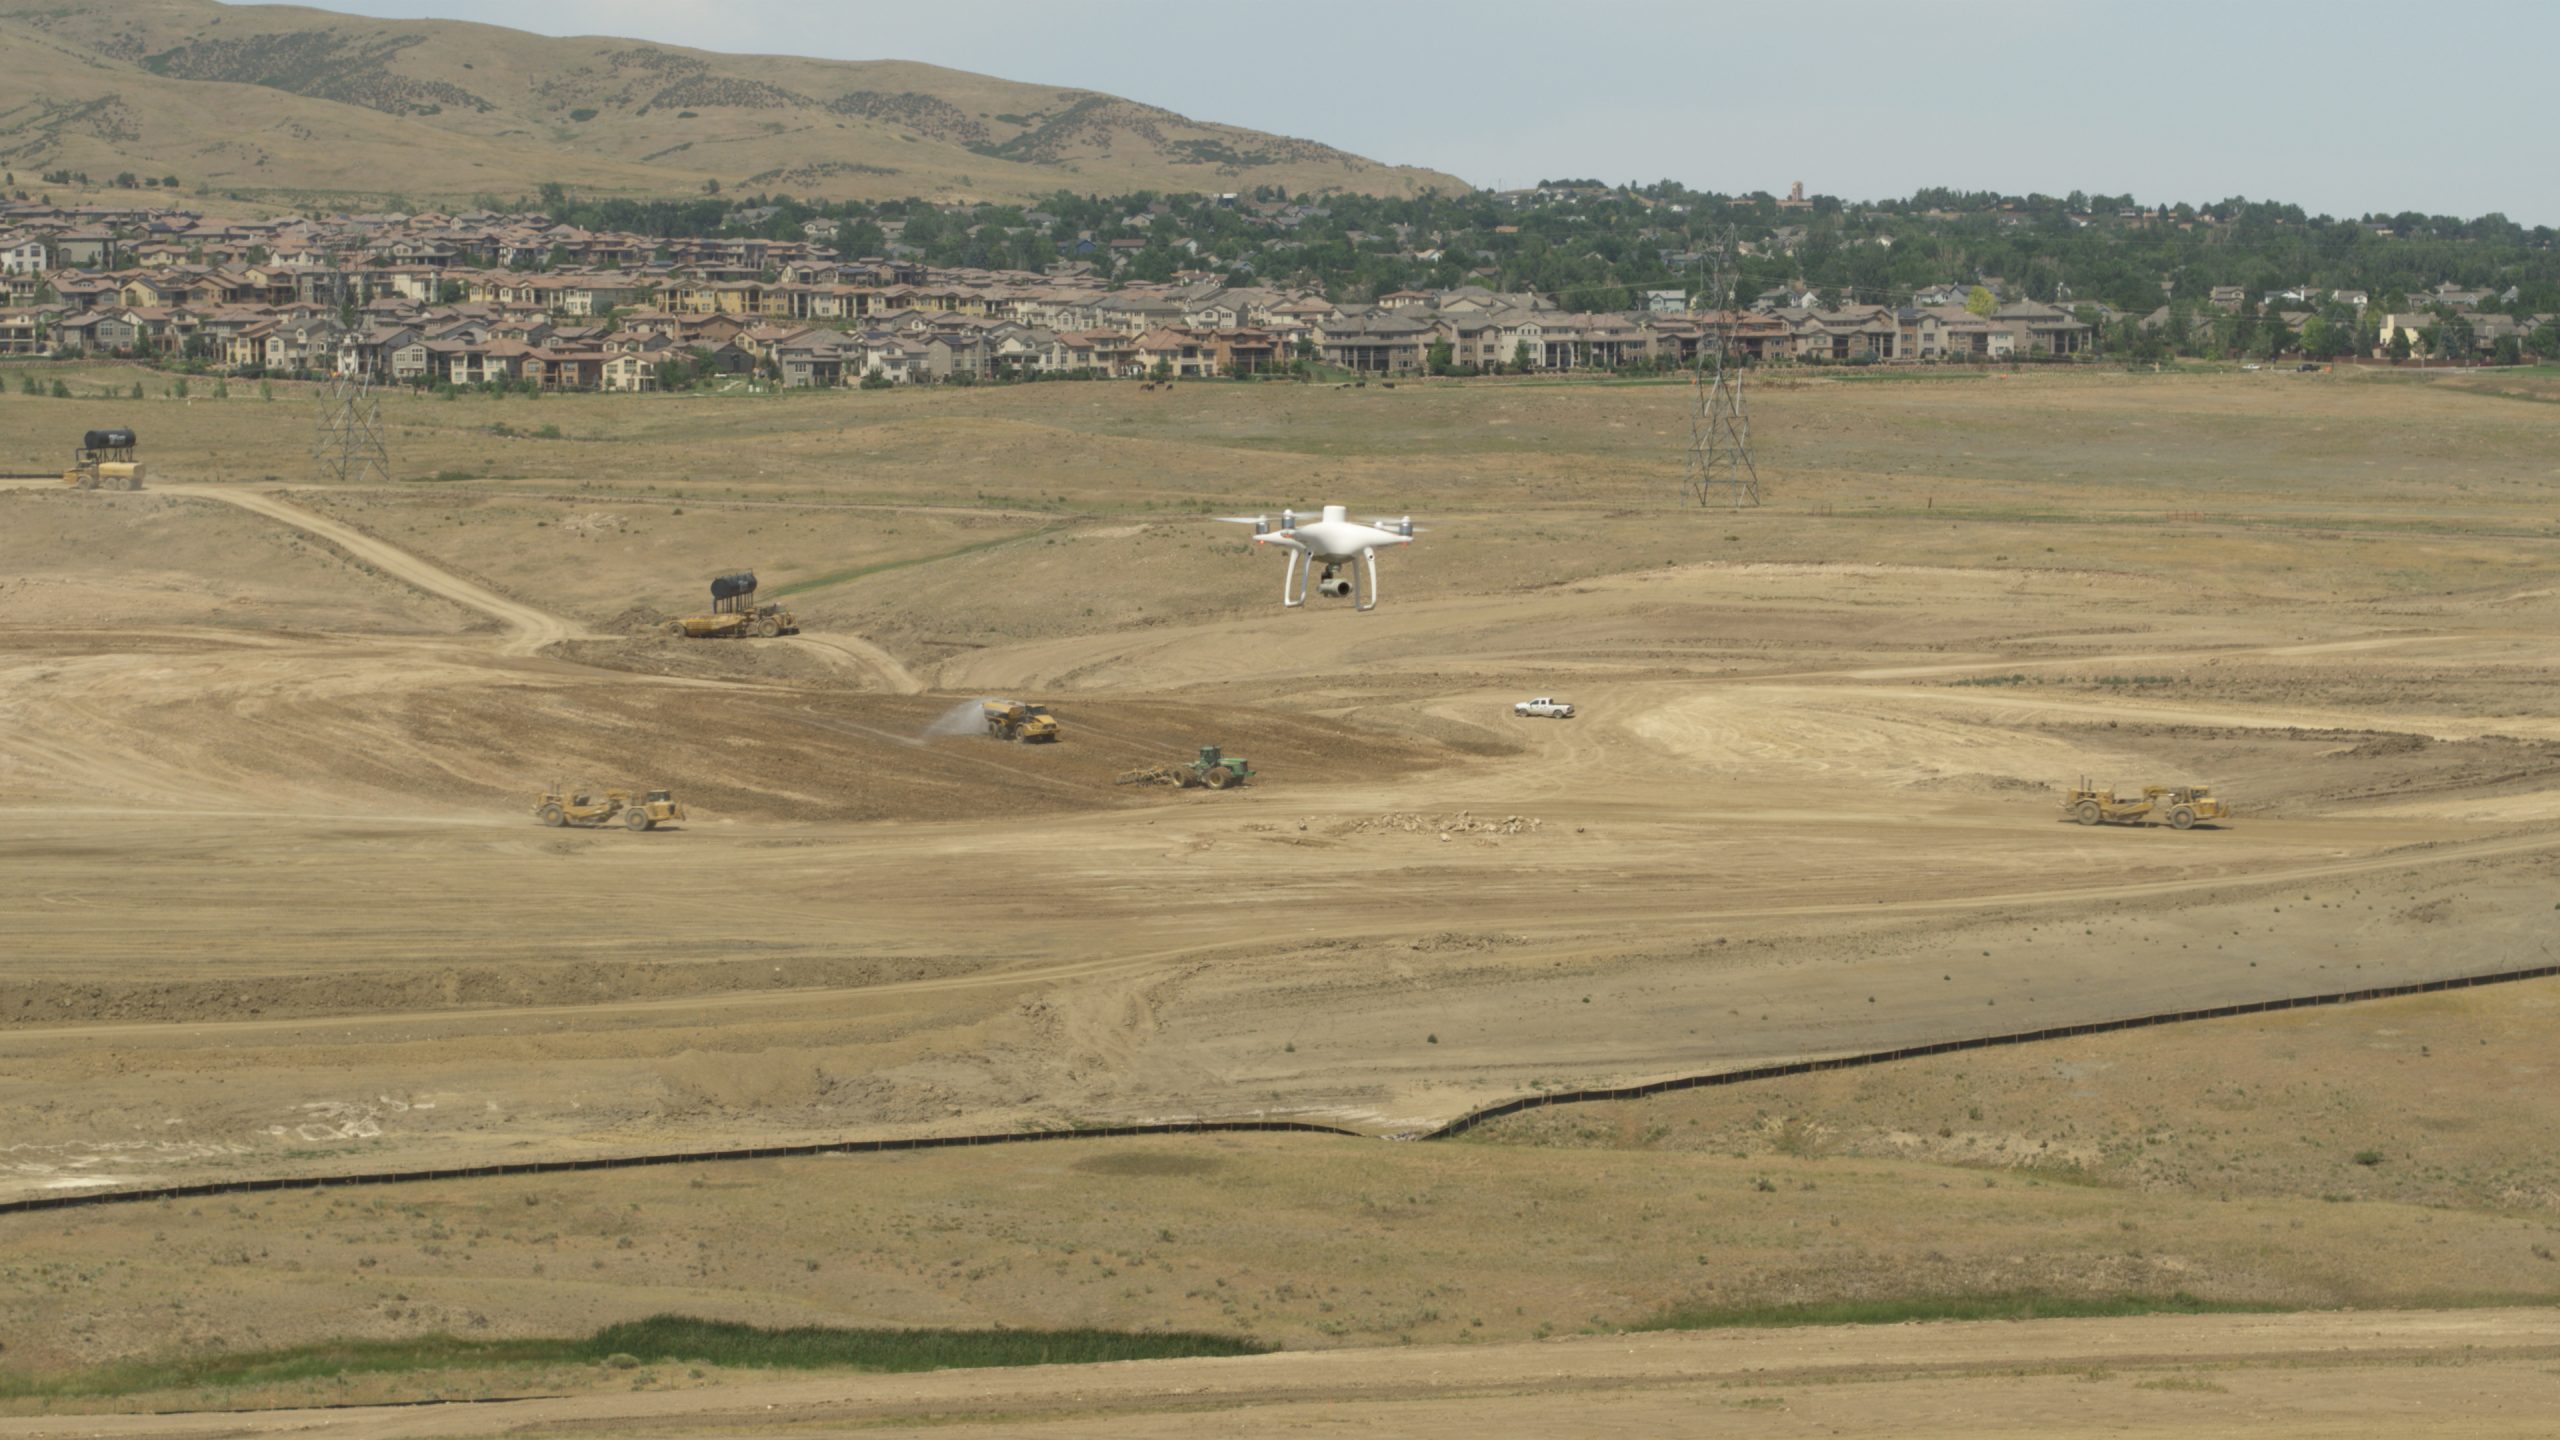
#2: Determine the best drone for your worksite
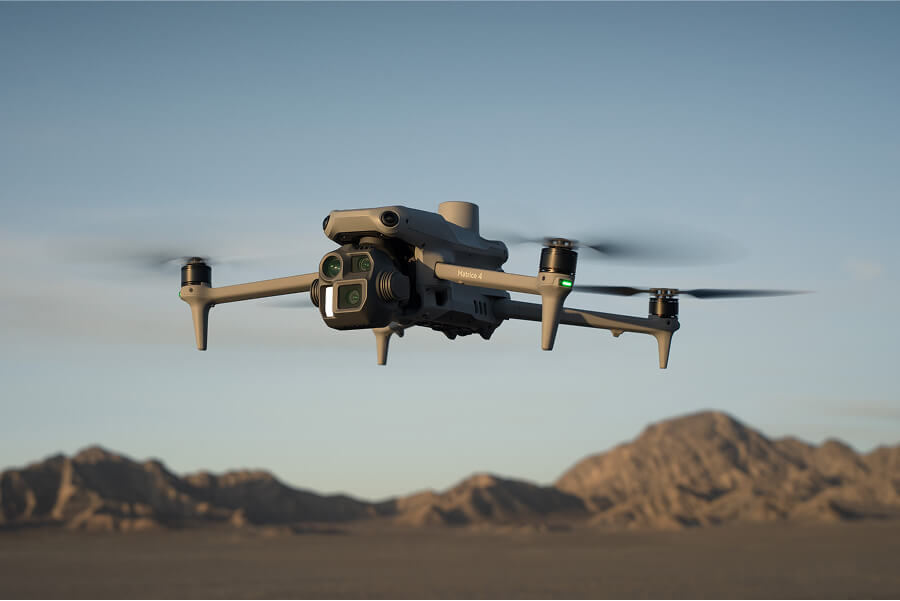
Fixed-wing, quadcopter, or VTOL—there are a lot of drones on the market for earthwork surveying. If you’re just getting started, you’re probably wondering how to choose the drone hardware best suited for your worksite.
Here are a few factors to consider when making your choice:
- Site size: Fixed-wing and VTOL drones can fly longer distances than quadcopters, which makes them better suited for large or long worksites, like road projects. That said, if you only need to fly a small subsection of your worksite each time, a quadcopter could work just fine.
- Surrounding landscape: Quadcopters and VTOL drones launch vertically, while fixed-wing units require a runway for takeoff and landing. If you’re launching next to vertical obstacles, like trees or buildings, consider a quadcopter or VTOL.
- Budget: If budget is your main concern, you probably want to look at quadcopters. They’re the most affordable drones on the market—but that said, investing more up front to get the right hardware can pay real dividends in the end.
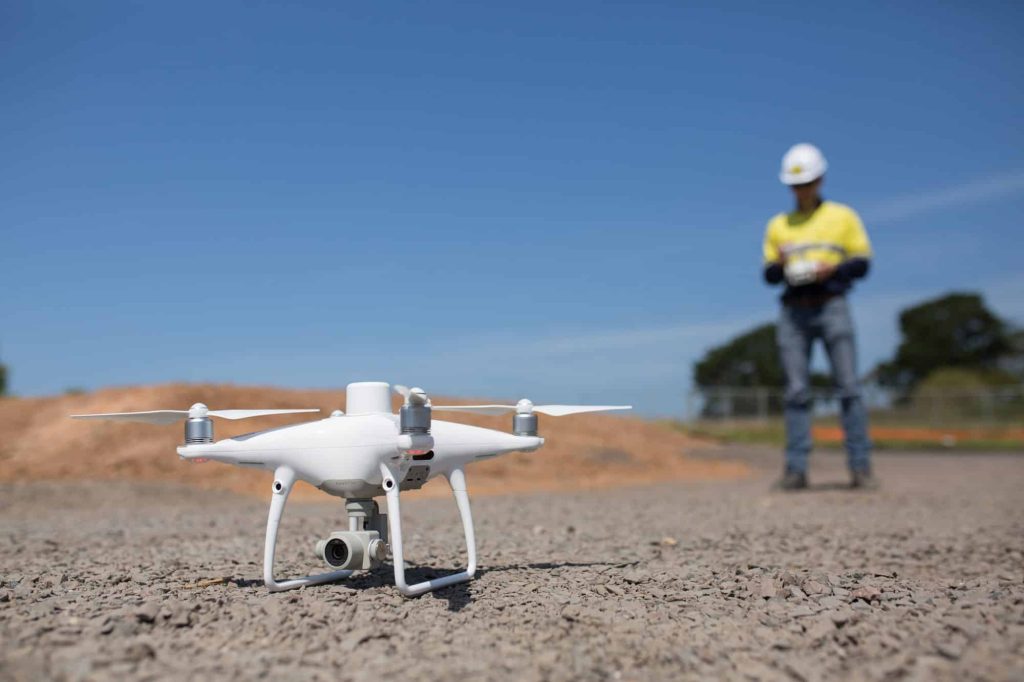
#3: Earn your commercial pilot license
Don’t let this step scare you; getting licensed is easier than you might think! Just as commercial drone regulations vary by region, so do licensing requirements. In the U.S., Australia, and Europe, you need to earn an official pilot’s license before you can legally operate a drone for commercial use.
#4: Get a feel for the basics
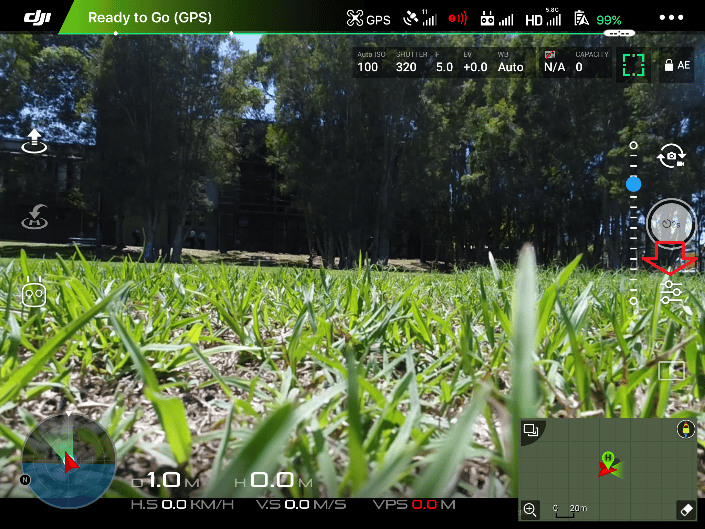
If you’ve never done any photographic surveying before, terms like “photogrammetry” probably look like Greek to you. Quite frankly, while the science behind drone photogrammetry is fascinating, you don’t need to know that much about it to operate a successful drone program.
That said, it does help to understand the basics before you fly. This post covers how drones and photogrammetry software convert 2D images into 3D survey maps.
#5: Decide on a workflow
Not all drone surveying workflows are created equal, and different worksites have different needs. In the world of drone surveying, there are two primary workflows to pick from: PPK and RTK.
- PPK (post-processing kinematic): We recommend a PPK workflow for nearly every use case. That’s because you retain the high accuracy of RTK hardware with more flexibility. Since data is processed post-flight, you can fly behind obstacles and in remote locations without, worrying about maintaining a real-time connection to a base station.
- RTK (real-time kinematic): RTK surveying uses a lot of the same hardware as PPK, and gets you the same accuracy—assuming flight conditions are ideal. If you lose connection between the drone and base station for even a few seconds, your dataset is compromised.
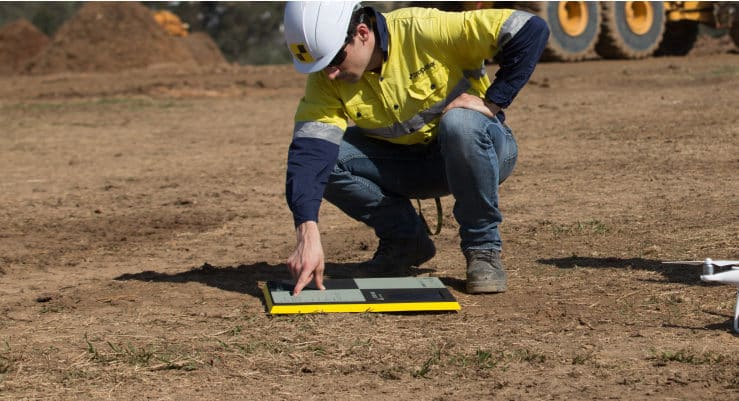
#6: Establish good ground control
Even the best onboard GPS hardware won’t reach survey-level accuracy without ground control to tie those in-flight coordinates back to known points on the ground. Traditionally, this was done by walking a site with a base and rover. This involved manually shooting and marking ground control points (GCPs) on your site, and then re-shooting them as site conditions changed over time.
Propeller has made the process infinitely easier with AeroPoints. AeroPoints are our “smart” answer to ground control. You simply place one on the ground near your planned drone flight, keep your drone in the air for at least ten minutes, and upload your AeroPoint data after the fact. The AeroPoint serves as both ground control and base station, all in one.
Psst: AeroPoints work best with a Propeller PPK workflow.
#7: Keep it simple
Photogrammetry is a science, and while it doesn’t have to be complicated, it’s easy to over-complicate if you aren’t careful.
Here are just a few ways to keep the drone surveying process as simple, efficient, and headache-free as possible:
- Pre-program your flight path: Drone technology has come a long way in the last decade. Today, you can pre-program a survey flight, which enables you to simply initiate the launch sequence when you arrive at the worksite. The drone does the rest.
- Use smart ground control: Why walk your site several times throughout a project to shoot and re-shoot GCPs when you could simply place AeroPoints nearby for the duration of your drone flight? AeroPoints are the epitome of “work smarter, not harder” for surveying GCPs.
- Outsource the data processing: Sure, you could spend hours in complex software post-processing your flight data—but is it the best use of your time? Instead, leveraging a data processing workflow like Propeller will enable you to free up time (and eliminate data processing stress) so you can take action based on the insights gained from your data.
#8: Leverage an advanced data and collaboration platform
Data insights, 3D mapping, and collaboration across all stakeholders are essential components to a drone surveying solution. Why? Each element provides you and your team with the data insights you need to make better decisions, faster, as well as the ability to share and collaborate on that information quickly and easily. The Propeller Platform is a cloud-based solution that offers optimal flexibility for collaboration and communication, with unmatched data accuracy.
#9: Stay safe
Historically, surveying worksites has been dangerous work. Unlevel and hazardous terrain, combined with lots of heavy equipment on the move, creates a risk-prone environment for surveying activities. Physically walking a site to capture survey imagery and data also is time consuming. In extreme temperatures, this can create a physical hazard for workers as well.
With drone surveying workflows like Propeller, you can stay out of harm’s way while the drone tackles the tough terrain. Drone flights also are much quicker to complete, which means your team can reduce their risk from exposure and refocus on other activities on site. It’s a win-win.
#10: Level up your communication
Drone surveying is one of the best ways to improve communication between stakeholders, from field teams to the office (and back), subcontractors, and clients. Unlimited licensing means that everyone gets access to a single source of truth. As an added bonus, disputes are further and farther between when everyone is looking at the same visual evidence at every stage of the project.