Ground control (quite literally) keeps you and your aerial images “grounded.” It helps your drone data retain its value across time by tethering each image to a set of coordinates.
A coordinate reference system(CRS) is a framework for understanding locational data and processing a particular position on earth. Each coordinate system has a unique interpretation and means of classifying the same location on earth.
In other words, a CRS is the gateway to shared understanding. The spectrum of coordinate systems ranges from global (what your GPS uses) to highly localized (we’re talking worksite-specific), so choosing a CRS that best aligns with your data needs can be overwhelming.
Consider how condensed you need your coordinates, what system your historical data is tied to, and who you’ll be sharing your data with and what system they’re using. Addressing these questions will help guide your decision-making.

Regardless of which system you choose to contextualize your ground control points (GCPs), establishing them with permanence can increase the longevity and accuracy of your data.
This article assumes you understand the why, and aims to address the how—more specifically, how to create permanent GCPs on your site.
If you feel like you need additional literature on the basics of GCPs, you can check out this previous article.
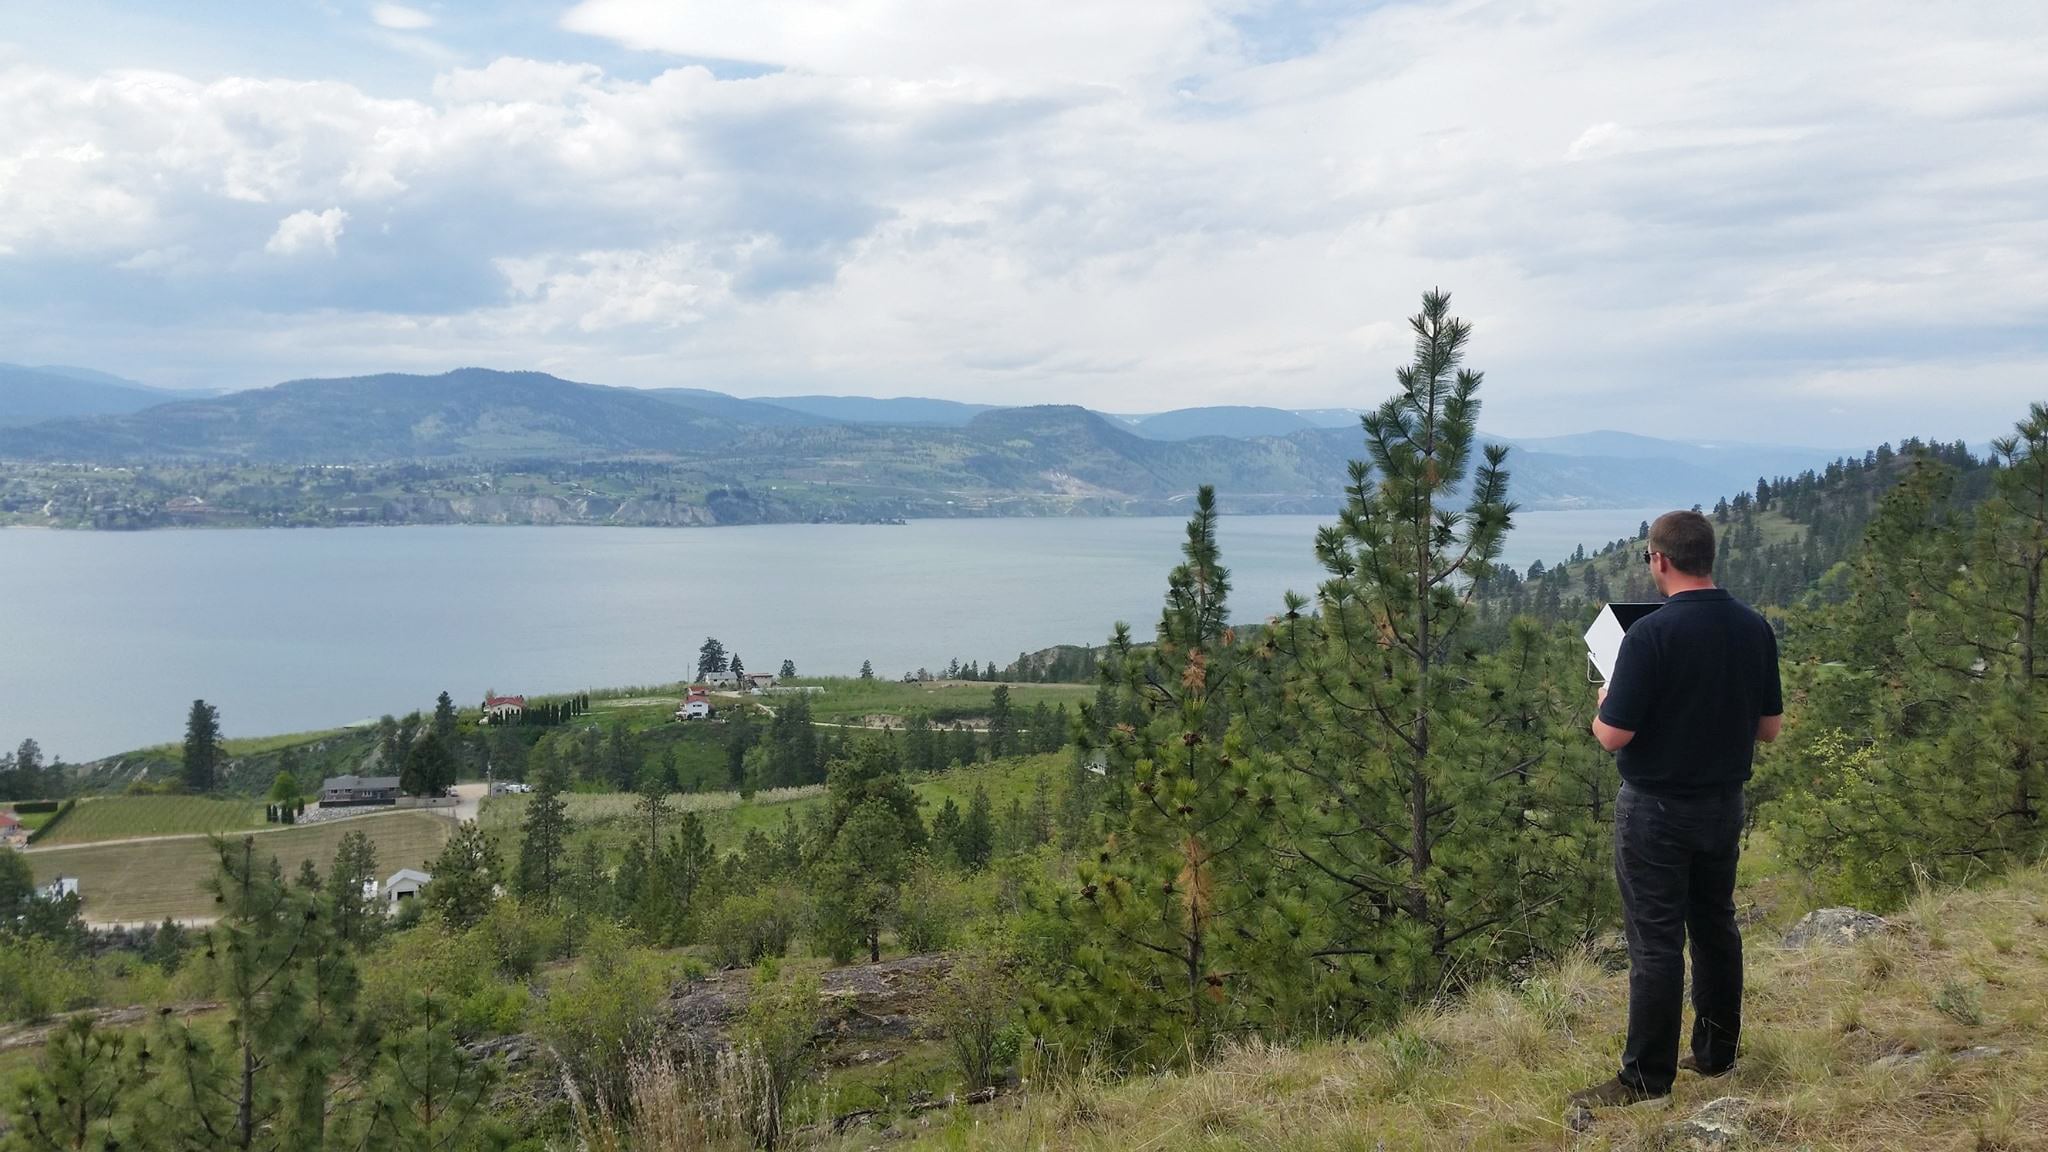
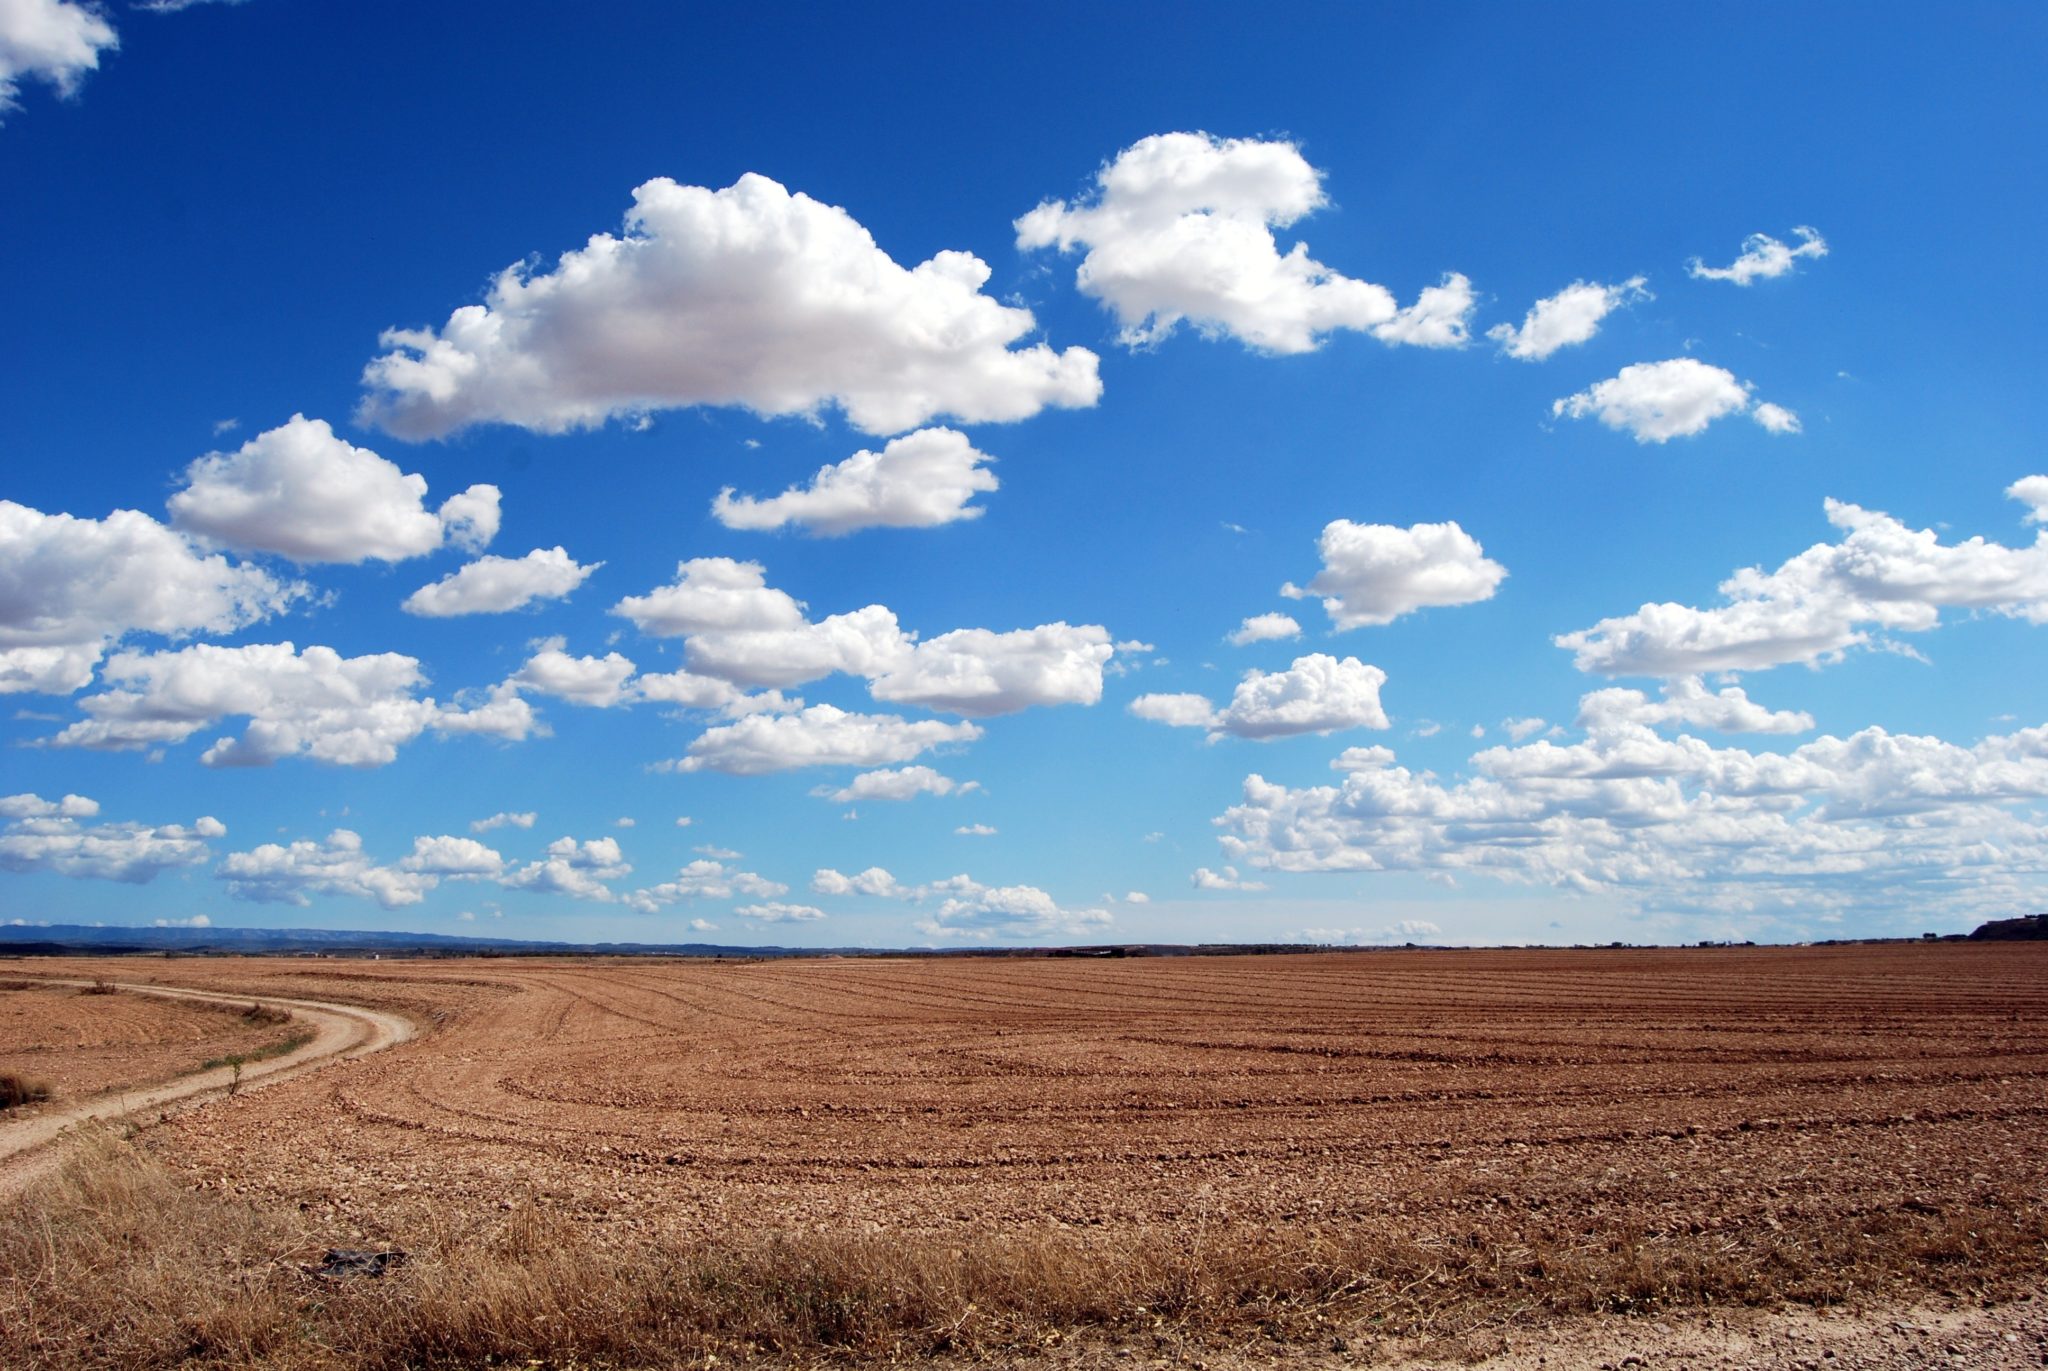
Good ground control starts with a clear view of the sky
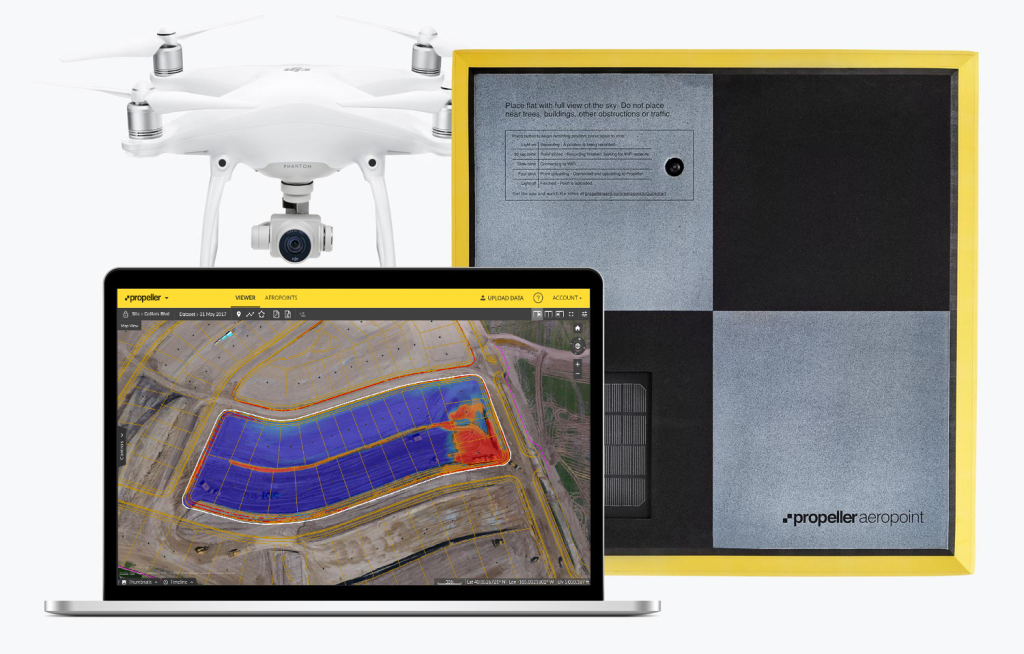
AeroPoints, our smart ground control points, reduce the number of hours required to establish ground control, while increasing reliability. The best part: they’re capable of locating their exact location on the CRS of your choosing by themselves.
For more information on AeroPoints and why you should care about them, try this blog post.
If you have a limited number of AeroPoints, flying larger sites and achieving the precision you want can be challenging without a base and rover system to mark additional points. We recommend using one to three AeroPoints for sites up to 150 acres, and manually shooting more points to maintain this ratio as you increase your acreage.
When you’ve solidified your approach, the first step is to find suitable locations for your AeroPoints. They operate at their best when they have a clear view of the sky, away from buildings, vehicles, metallic interference, and surrounding terrain.
You should also choose a location where they will not be disturbed by active site features—things like machinery or stockpile movement.
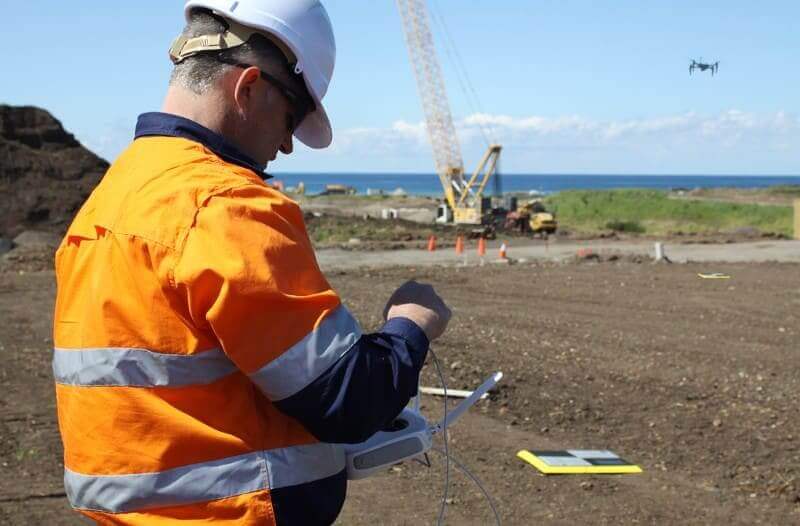
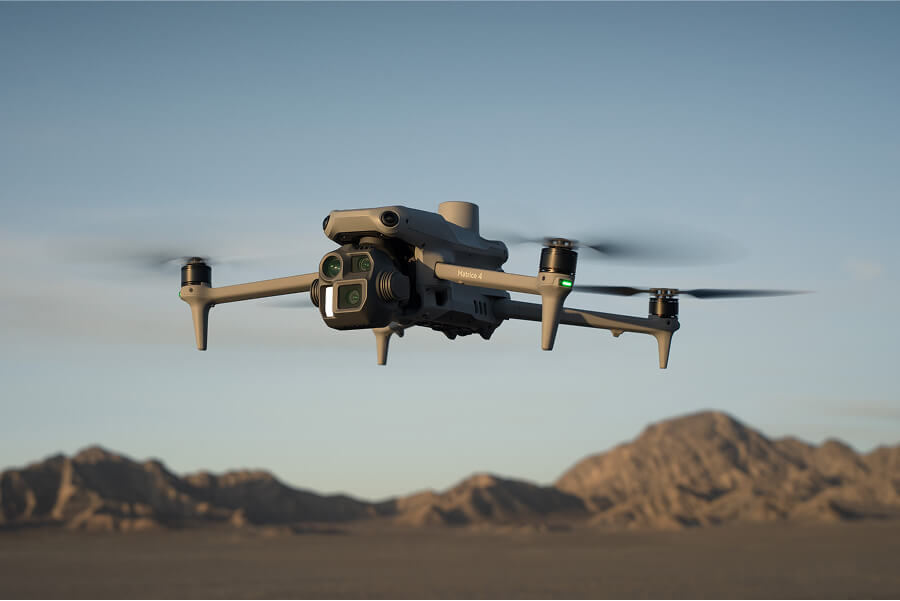
It’s important to note that AeroPoints are not the only hardware that prefer clear skies. Drones are also weather-sensitive, and being conscious of the best time to fly will make for a more reliable (and accurate) dataset.
“X” marks the spot
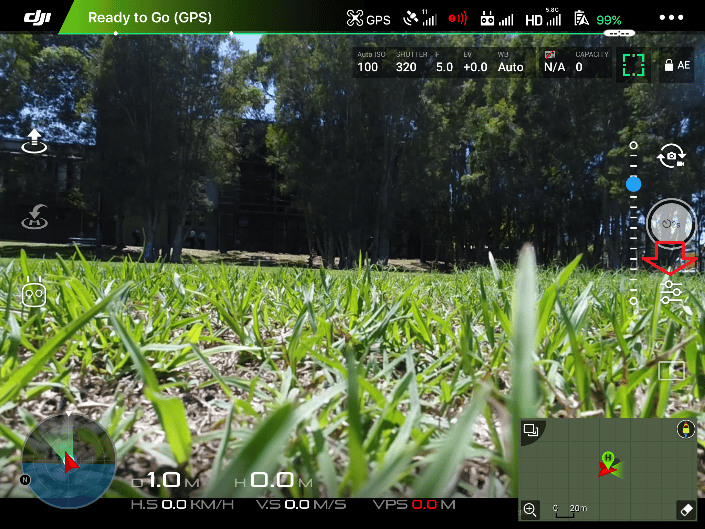
Depending on the model of your drone, it is most likely collecting georeferenced data from above, but aerial geotags can be skewed by in-flight conditions. You need static checkpoints on the ground to combine with your drone data. This is where AeroPoints come in.
When you position your AeroPoints, you’re forming a network of exact locations. AeroPoints have GPS chips at their center and can accurately find their locations.
Adding permanent GCPs adds yet another layer of efficiency because you’ll no longer have to go through the placement process before every flyover. It also takes the subjectivity out of ground control—the same exact points each time, the same frame of reference across datasets.
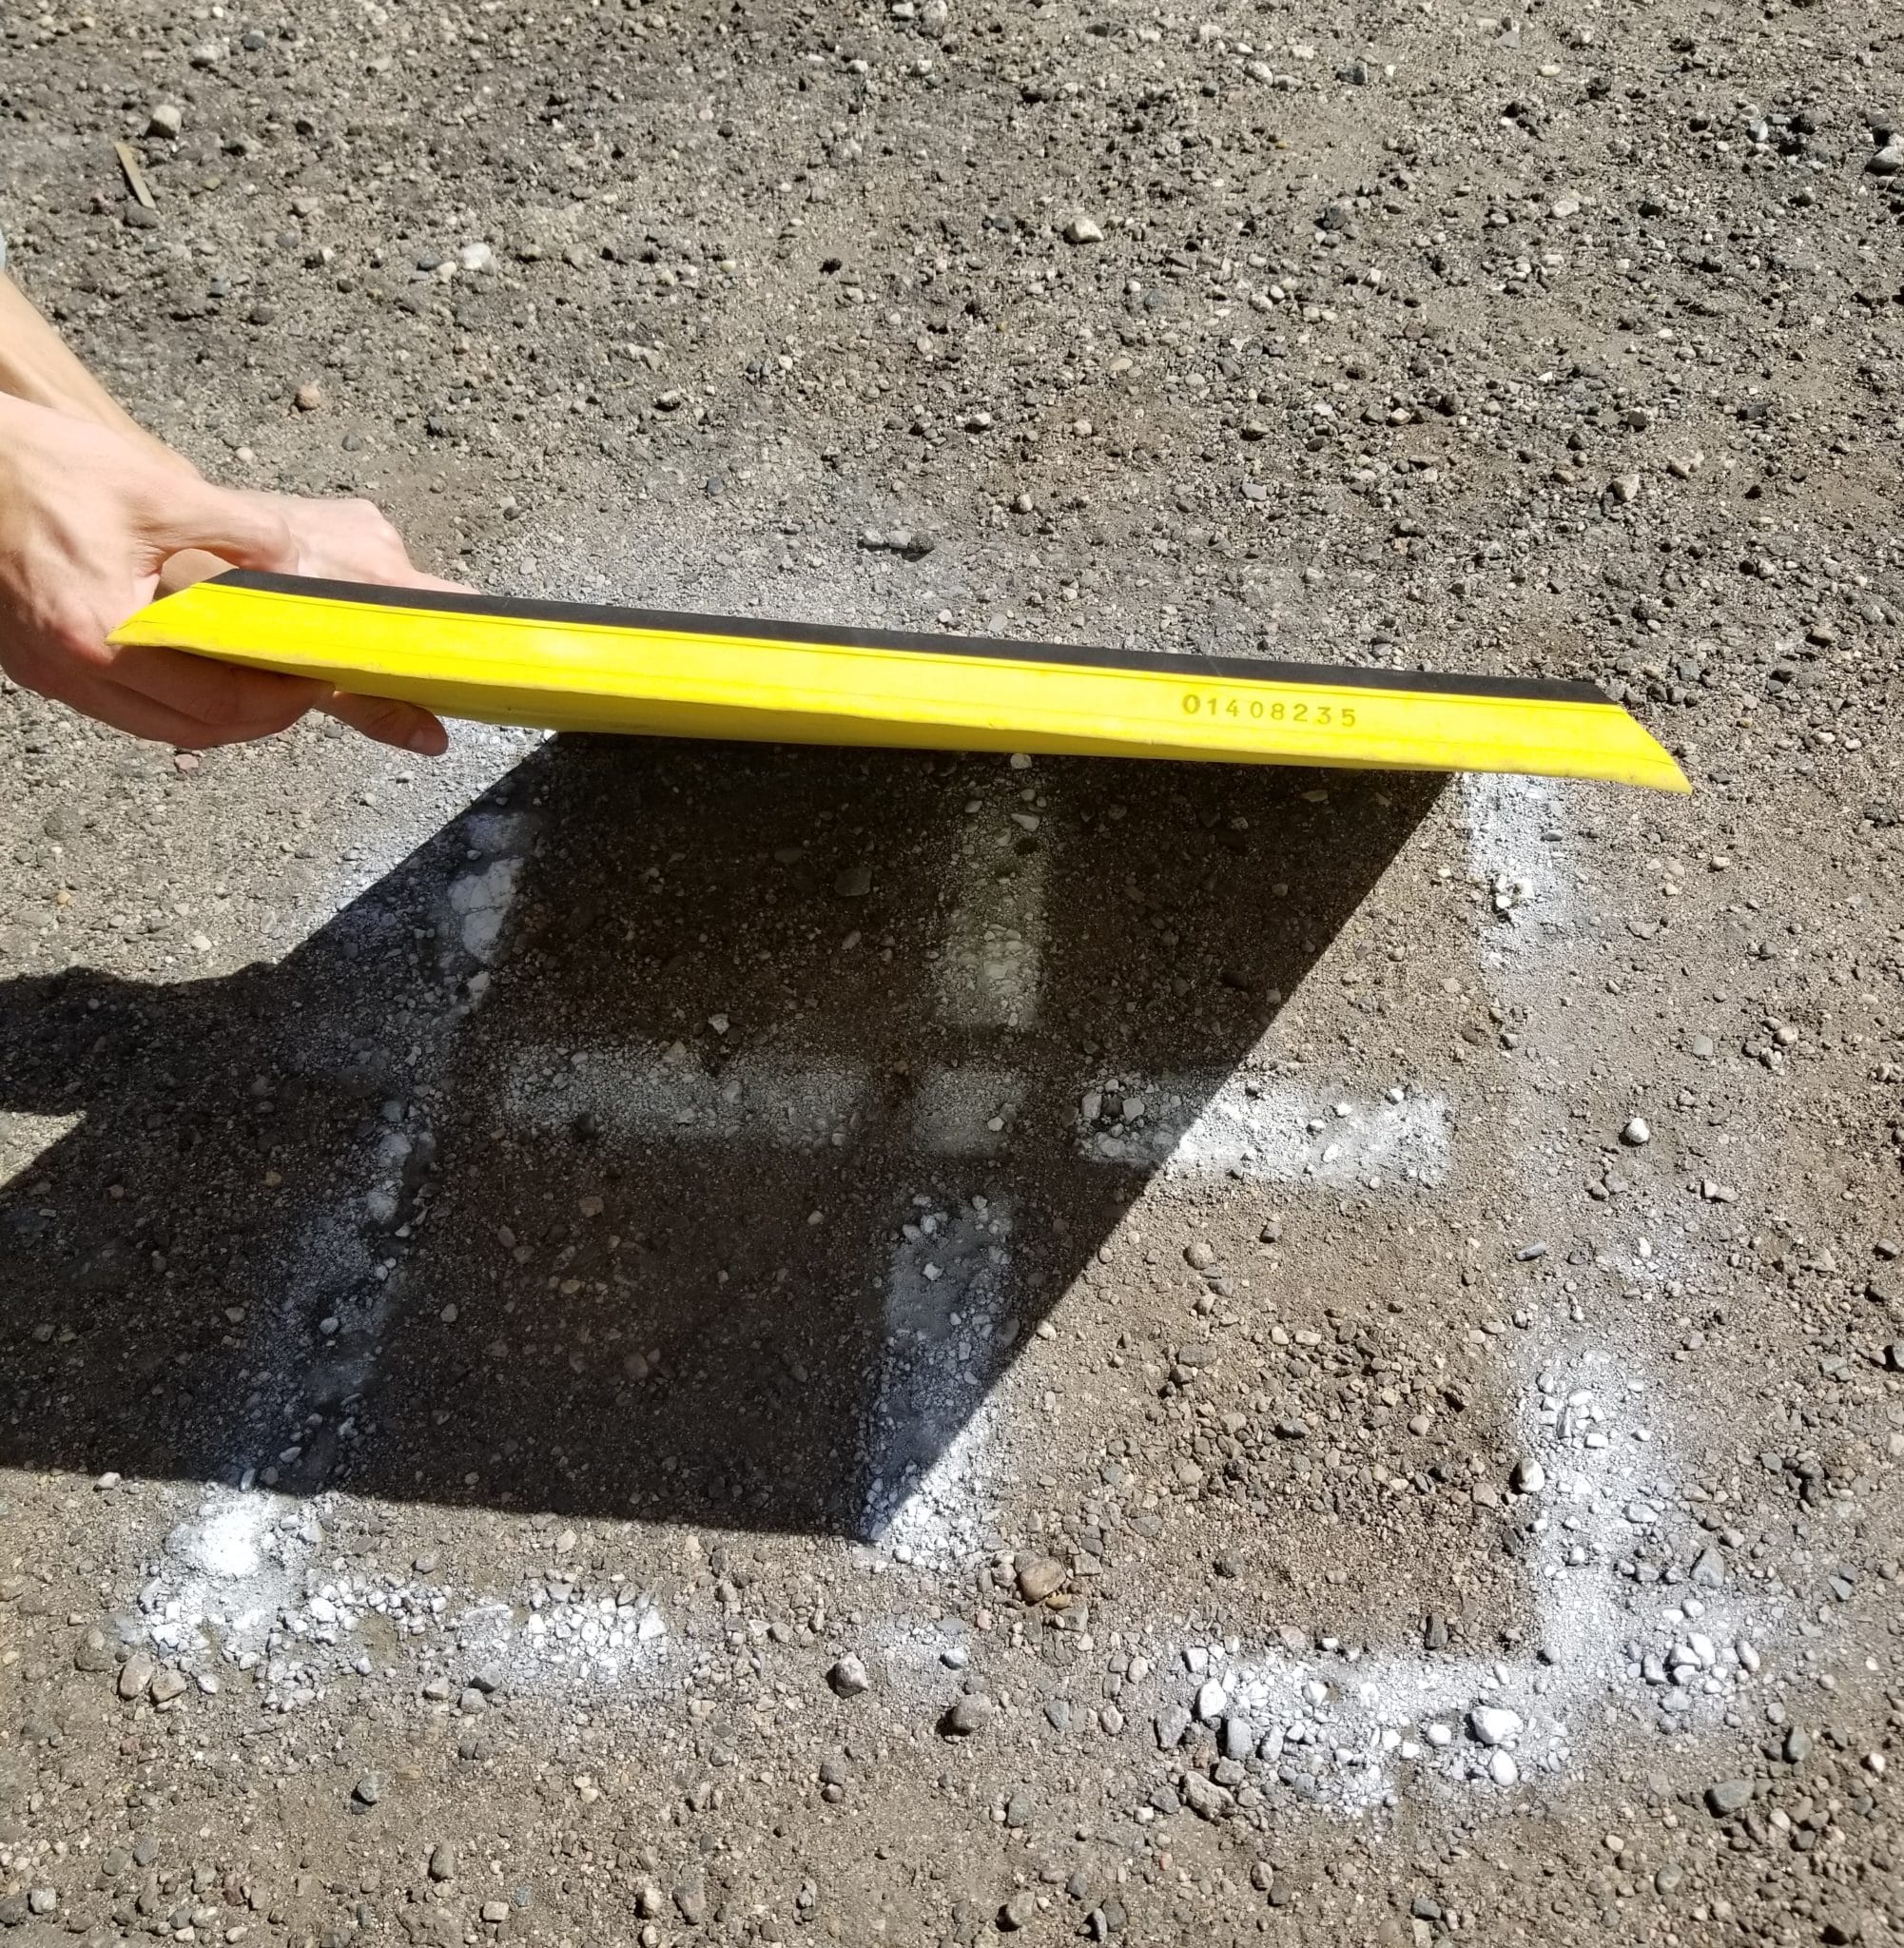
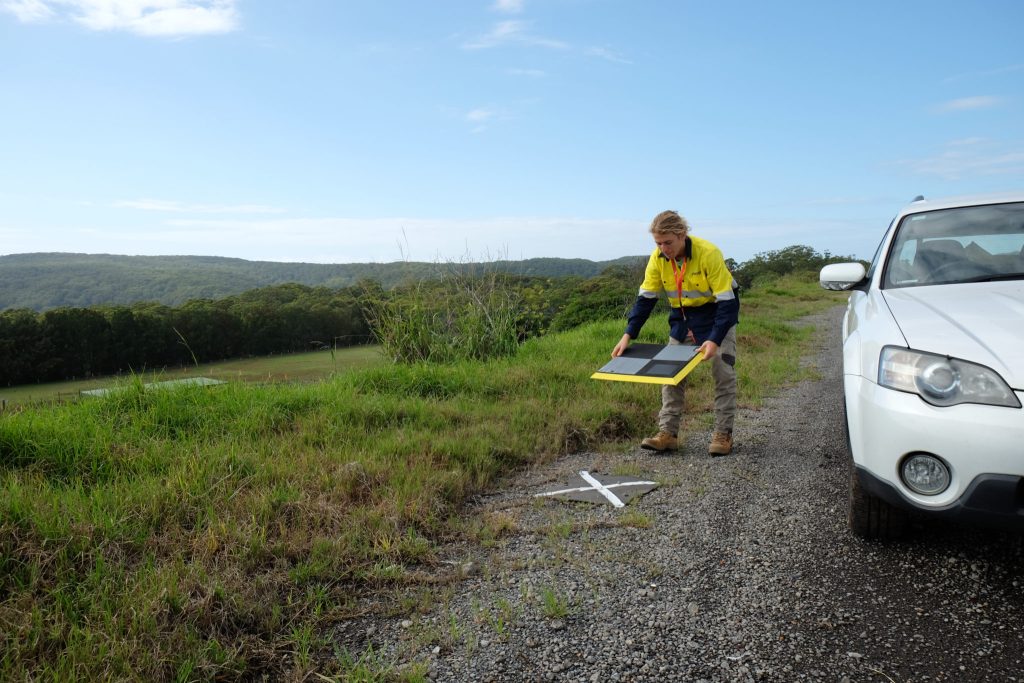
After locating a spot for your AeroPoint, mark it clearly and decisively. Although they’re easy to see on the ground, everything blends together from a bird’s-eye view. Using bright colors and making your markers big enough will increase your visibility during your next flyover.
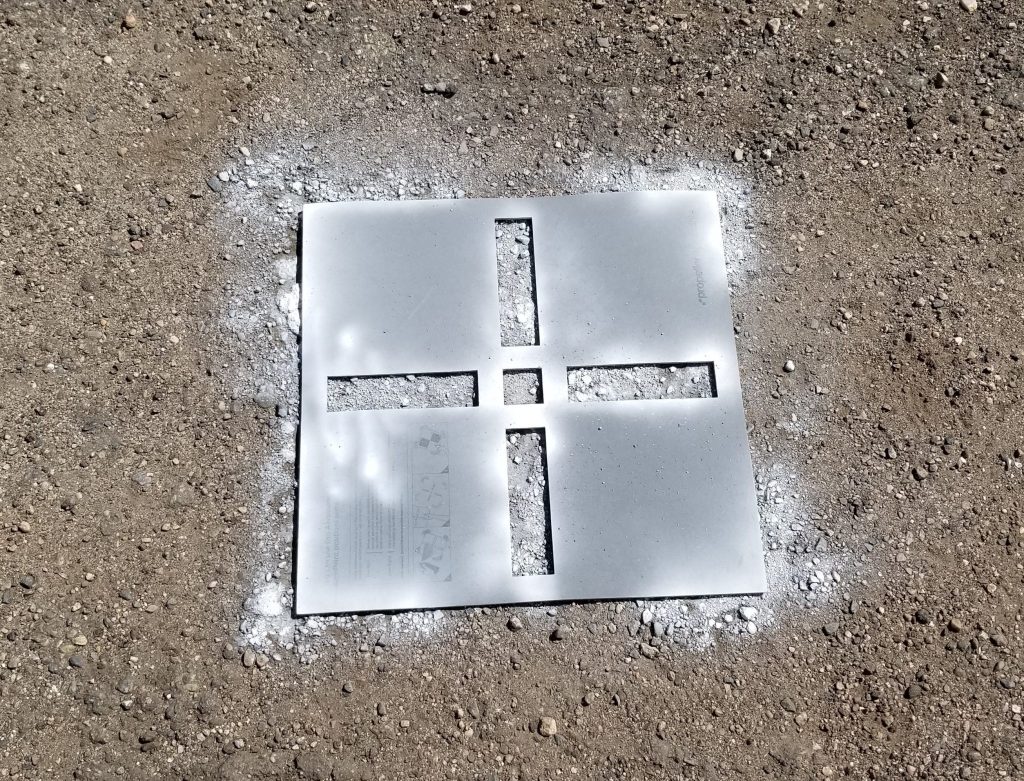
Our AeroPoints come with a marking stencil and it’s fairly self-explanatory. As long as you choose a color that contrasts the ground-level surroundings, you should have no problem spotting your GCPs from the sky.
Give your AeroPoints some breathing room
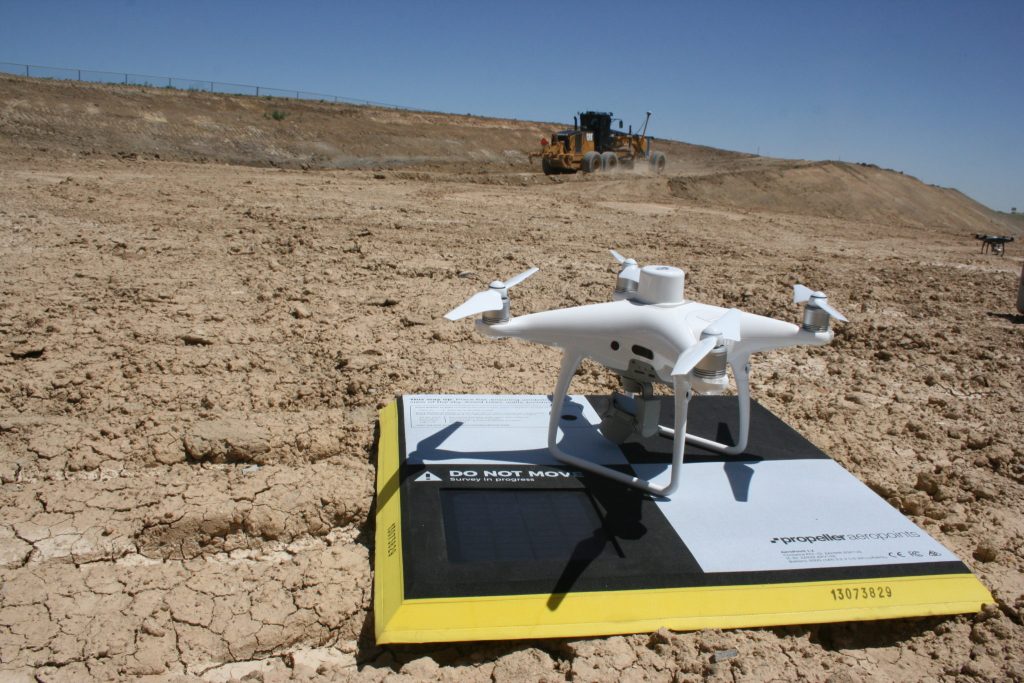
Stenciling is only half the battle. Once you’ve picked highly visible colors and made your marks, it’s time to lay down your AeroPoints on top.
![]()
After you’ve set them down and turned them on, give your AeroPoints some breathing room for at least 45 minutes so they can start collecting data.
The longer they’re on, the more precise the data.
If you go the manual route, place your rover down where your “X” intersects and shoot your points, going one by one to every GCP to collect your coordinates.
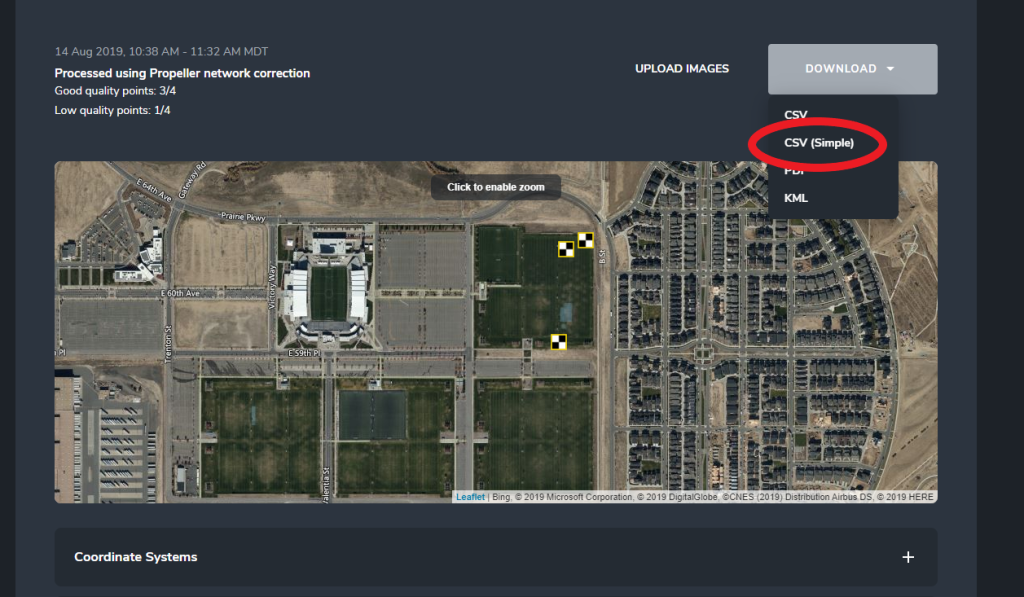
The next step is to generate a CSV file of your GCP data. You generate a CSV file by logging into your AeroPoint portal, clicking Process Now and selecting CSV from the Download drop down menu. You’ll be able to use this file for all future drone surveying missions.
The easy part
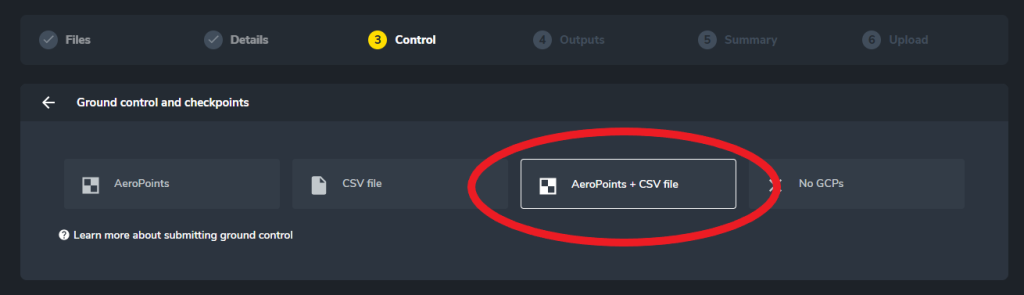
If you have the right photogrammetry software and drone hardware, uploading your CSV and locking in those permanent GCPs will be the easy part.
We recommend a fully integrated approach like Propeller PPK, which unifies GCPs, software, and hardware in one bundle. With this, it’s a single upload to the Propeller Platform, and within 24 hour processing period, you’ll be ready to download your geotagged drone data.
At the end of the day, a one-stop-shop approach saves you time in the field and helps you avoid those compatibility issues we all have nightmares about.
There are extraneous factors outside of your control that may compromise your GCPs. For earthwork operations, the most prevalent factor is material movement. Because things are constantly moving around on site, the ground shift marginally over time.
For this reason, it’s good to reshoot those points occasionally to maintain the level of precision you’re looking for.
If you choose to establish permanent ground control, you’re introducing lasting infrastructure to reference with all future flyovers, the common thread for cross-dataset comparison.
Because material movement is a constant with earthwork operations, the ground may shift marginally over time. For this reason, it’s good to reshoot those points occasionally to maintain the level of precision you’re looking for.
Get it right the first time and it’s all blue skies ahead.