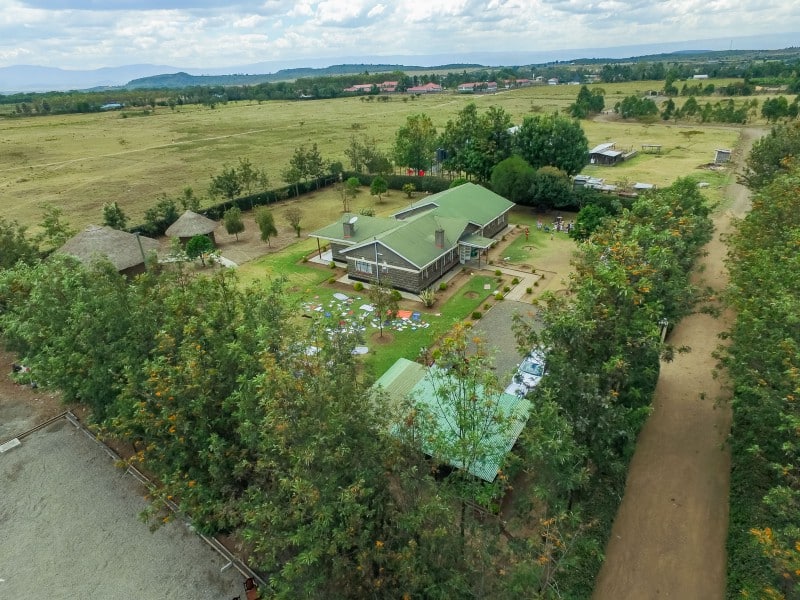
In Parts 1 and 2 of this series, we learned how to capture any bare earth site (with or without significant elevation changes). Next, we’re tackling how to capture features that are not easily visible from above, like walls, faces and overhangs.
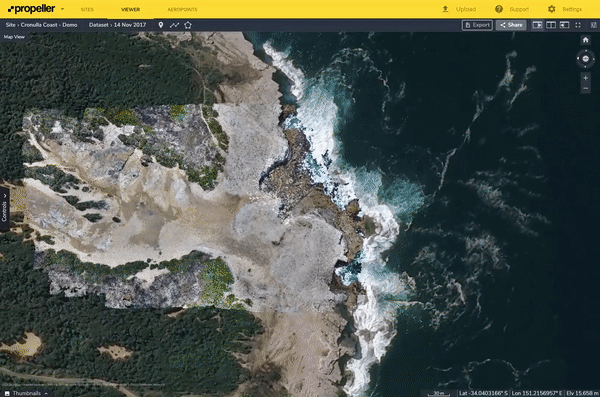
In these cases, you need additional angled (oblique) photos to use in the 3D site model. To begin, run a normal pattern looking straight down (nadir), maintaining reasonable overlap and ground sampling distance (GSD). This creates a high level map of the features in the area.
Linking features for photogrammetry models
Photogrammetry works by linking similar features in different images, so when you take your next run past the vertical section(s), try not to change the gimbal pitch angle and GSD too much, so that the image shares sufficient similar features as the nadir imagery, as well as new ones from the vertical surface.
In some instances, one oblique run may be enough. If so, you can stop here to keep the photo count as low as possible.
If not, continue decreasing the gimbal pitch angle (camera angle to horizontal) until you’re happy with the coverage.
It’s important to know that if you can see it in the image, your photogrammetry engine will try to map it. So make sure you don’t capture anything you don’t want mapped, like features far in the distance or the sky, which can’t be mapped and will likely ruin your model.
Be One With the Photogrammetry
Try to put yourself in the virtual shoes of the computer doing the processing. Have a look at each of images below and try to match features, like cracks in the rock, between different photos of the cliff face. If you can’t do it, there’s a strong chance that the computer can’t either.
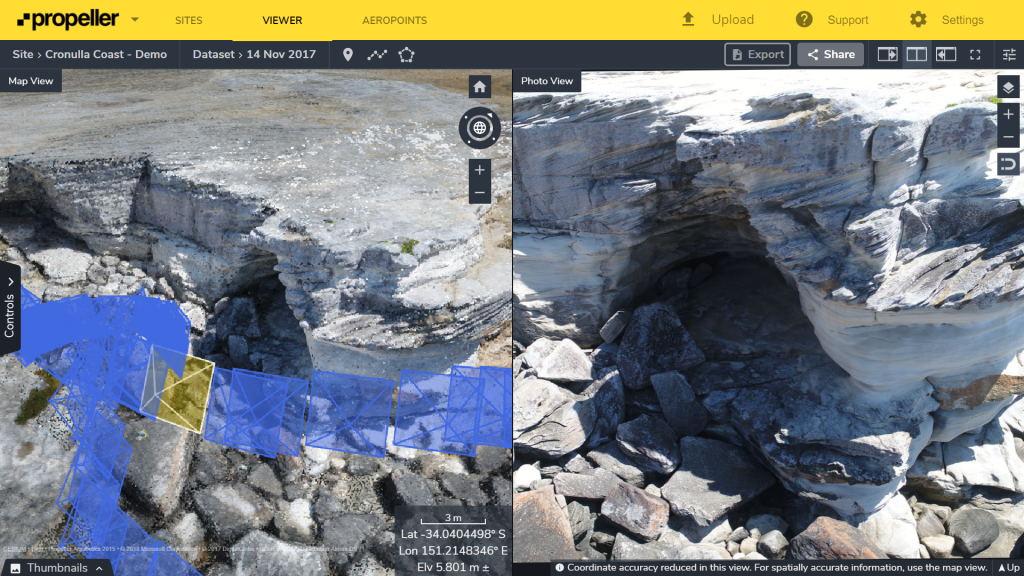
Here, there was sufficient feature overlap between the images to build a good point cloud, including underneath the overhangs.
Note that the left pane is the point cloud, the yellow and blue pyramids are the camera poses. The right pane is the original drone image.


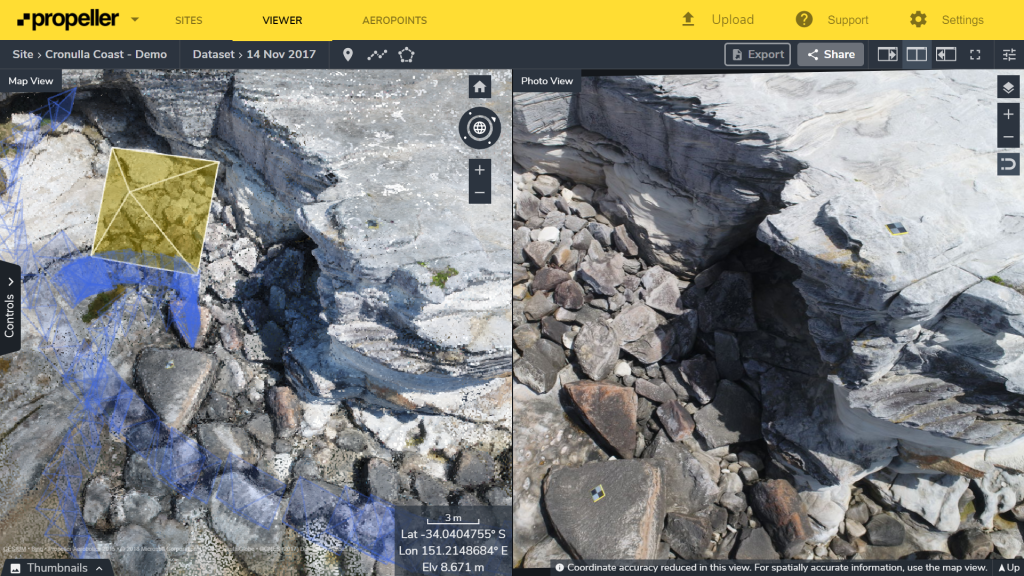
Keeping these concepts in mind, you should be able to build sufficiently accurate, descriptive models of vertical and overhanging surfaces, like this one.
When things don’t go according to plan
It’s entirely probable that your first attempts at capturing subject matter like this will not go according to plan. Remember, practice makes perfect. When you start again, we advise the following:
-
Revisit this post to refresh the core concepts.
-
Review your camera positions and hypothesize what went wrong. Is overlap and GSD okay in your nadir images? Too much change in gimbal pitch angle between runs? Too close to the feature to see recognizable features.
-
Try again.