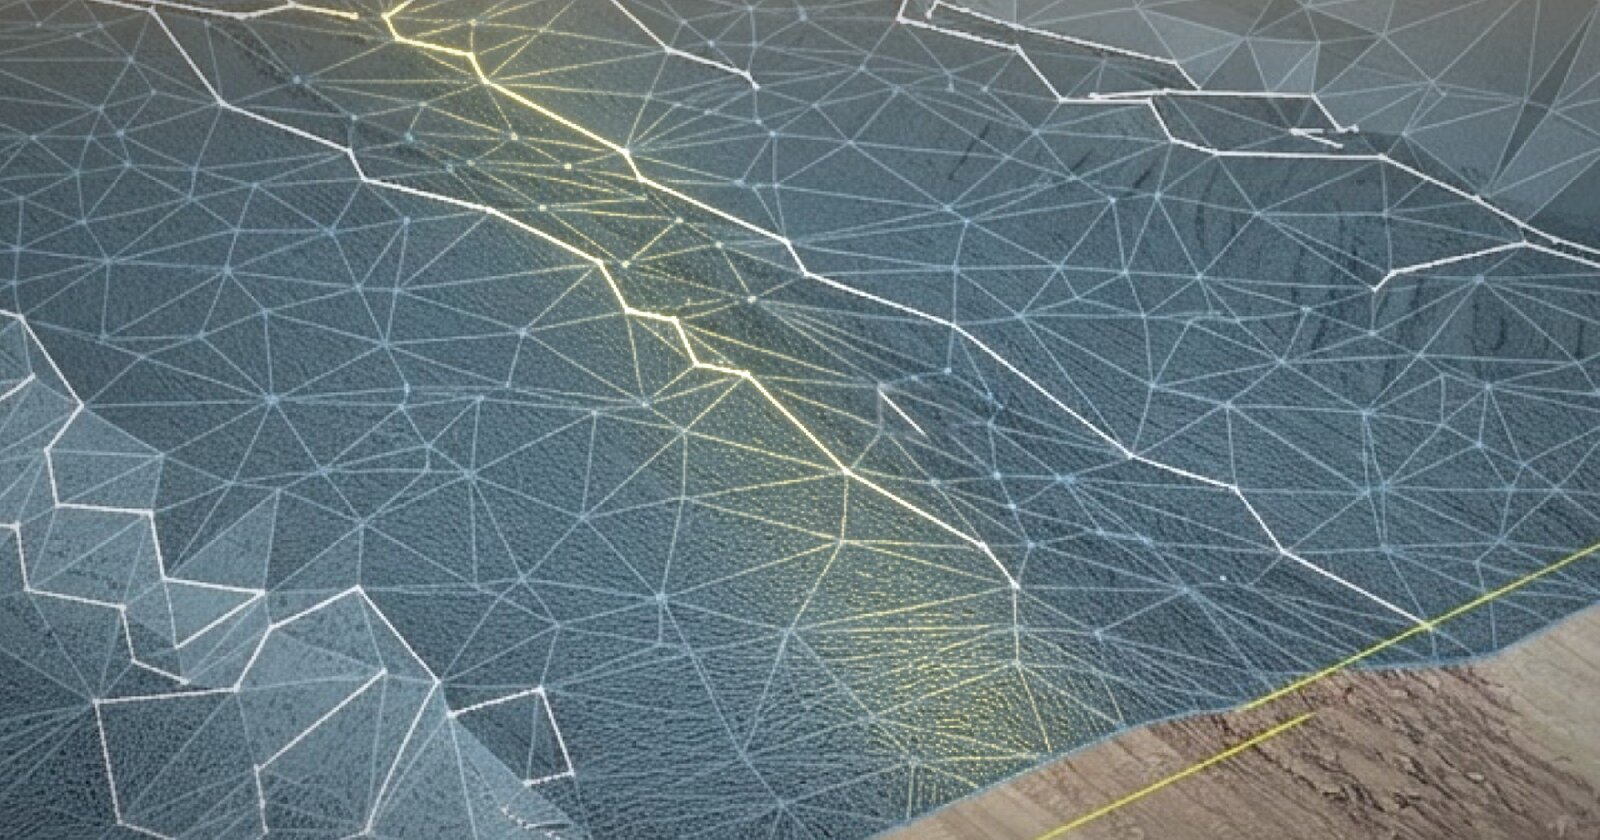
How to plan earthwork concepts using current site survey data

Read Time: 4 mins
Quick links

    Planning earthwork concepts on current site survey data, rather than stale topo or a blank canvas, reduces design conflicts, improves volume estimates, and gives the engineering team a better starting point. Propeller connects drone survey capture to concept design in one platform: fly, process, open the CAD tab, describe what you want in plain language, review against your actual terrain, and export DXF or TTM for engineering. Propeller CAD volumes are approximate; certified quantities require engineering workflow.
    Your next design idea starts with the site you have today

    A haul road needs a new route. A pad needs to fit between a stockpile and a drainage channel. Before your team can decide what comes next, you need to see how the idea works on the ground.

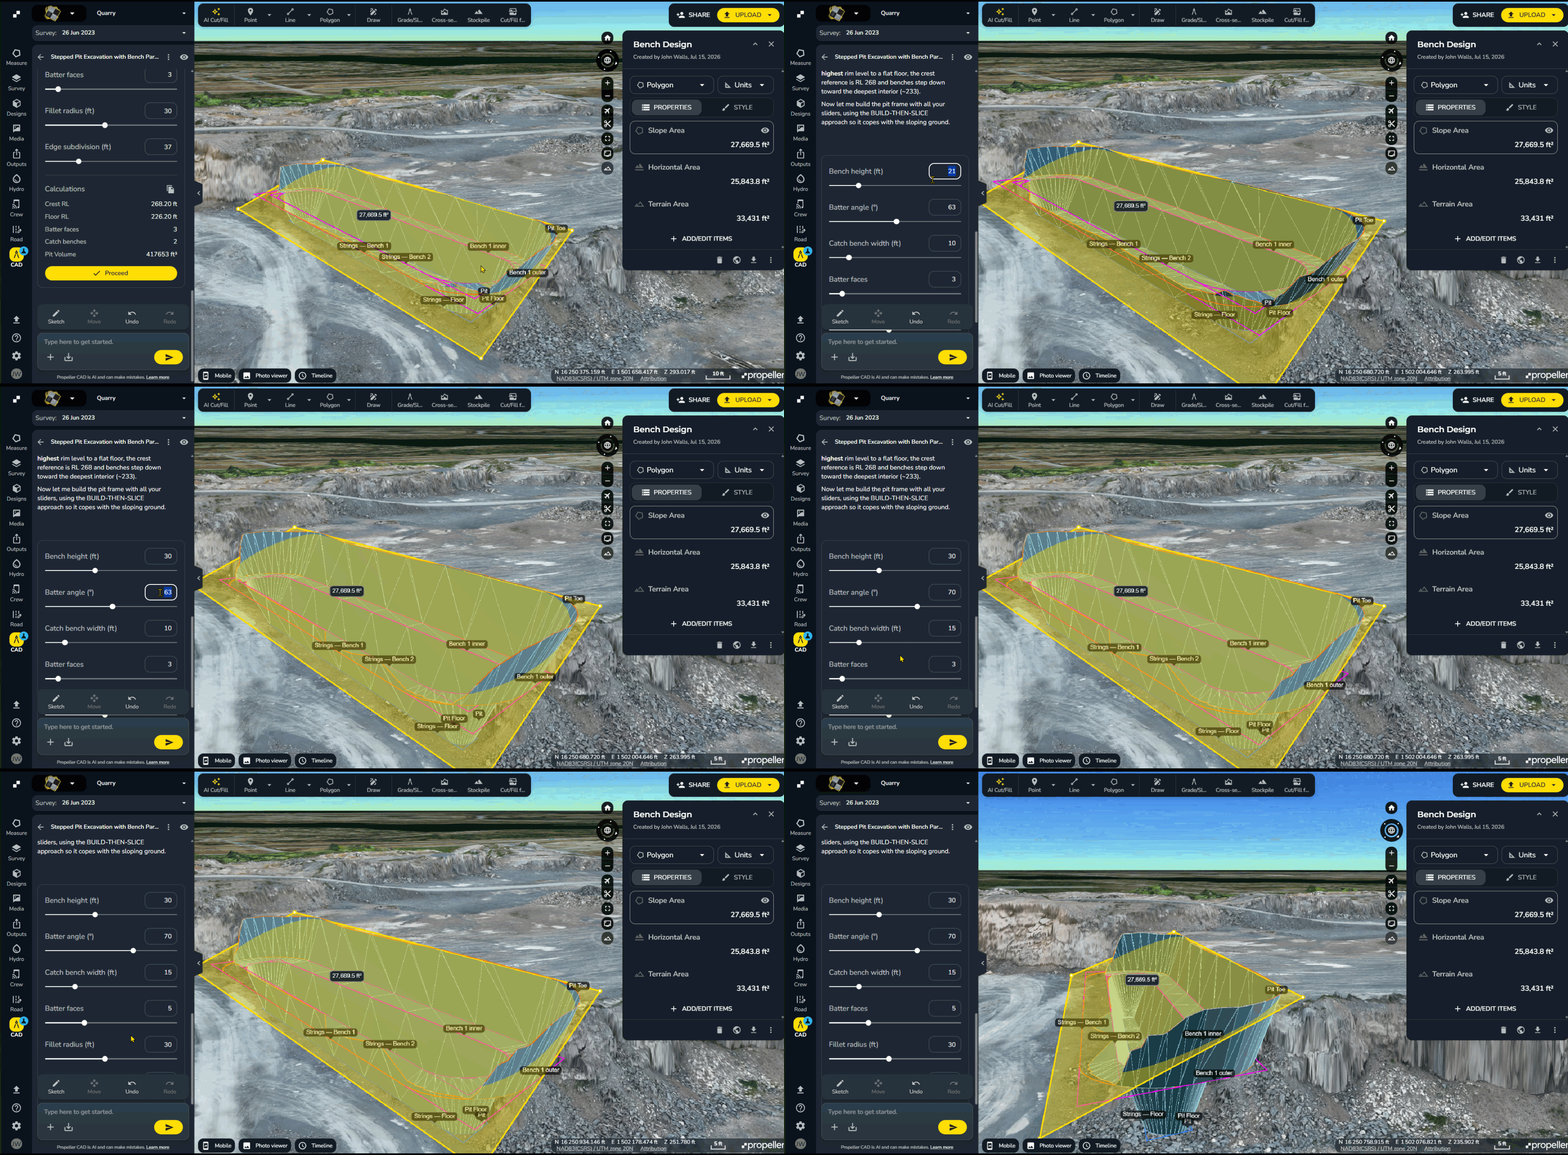
    If you already have a survey in Propeller, you have a useful place to start. With Propeller CAD, you can sketch an area, describe a concept, and see it on your site terrain. Then you can adjust the idea and share it with your team.

    The short version
    Planning earthwork concepts on current site survey data helps teams explore design options against real terrain. Propeller connects survey processing, plain-language concept design, review, and export in one workflow.

    Start with a surface that reflects your site

    Sites change between surveys. A stockpile moves, a berm goes up, or a new drainage path appears. If your starting surface misses those changes, your concept might miss them too.

    Your latest suitable survey gives the team a shared view of the terrain before the design work begins. That makes it easier to spot the details that can change a plan:

    Three things worth checking
    The starting surface
    Changes in ground level affect the cut and fill a concept may require.
    Space and obstacles
    A current map shows site features that may affect a road, pad, or access route.
    The shared picture
    Field and office teams can discuss the same idea against the same site conditions.

    Use the most recent survey that represents the area you’re planning. The right capture date depends on how much the site has changed and the decision you’re making. Explore survey processing in Propeller to see how site data becomes a map your team can use.

    From survey to concept in five steps

    Here’s the path from a current site surface to a design your team can review and hand off.

    The survey-to-design workflow
    01
    Prepare your survey
    02
    Open CAD
    03
    Sketch and describe
    04
    Review and adjust
    05
    Publish or export

    Step 1: Prepare a current site survey

    Start with a processed surface that reflects the area you want to plan. A drone survey processed in Propeller can give your team an orthophoto and a 3D surface to work from. AeroPoints can provide ground control for the survey.

    Already have site data in Propeller? Check that the survey covers your planning area and still reflects conditions on the ground. The Propeller platform keeps site maps and survey information together for your team.

    Step 2: Open the CAD tab

    Open your site in Propeller and select the CAD tab. Your site terrain gives the design its context from the start. See the Propeller CAD getting started guide for the current workflow.

    Step 3: Sketch the area and describe the idea

    Use the sketch tool to show where the design should go. Draw a line for a road centerline, an outline for a pad, or a point for a location. Then choose a suggested prompt or describe what you need in plain language.

    Try a prompt like this“Create a haul road along this centerline, 33ft (10m) wide, with a maximum grade of 10%.”

    “Create a pad inside this outline with 1.5:1 batter slopes.”

    “Create a preliminary catchment basin in this area.”

    Include the constraints that matter, such as width, grade, elevation, and slope. You can also attach design standards documents to the CAD session for context. Review the generated design against those requirements. The Propeller CAD 101 guide has more examples of concept designs.

    Step 4: Review and adjust

    Look at the concept on the survey surface. Does the route cross a drainage feature? Does the pad sit where the team expected? Refine your prompt or adjust the design, then review the result again.

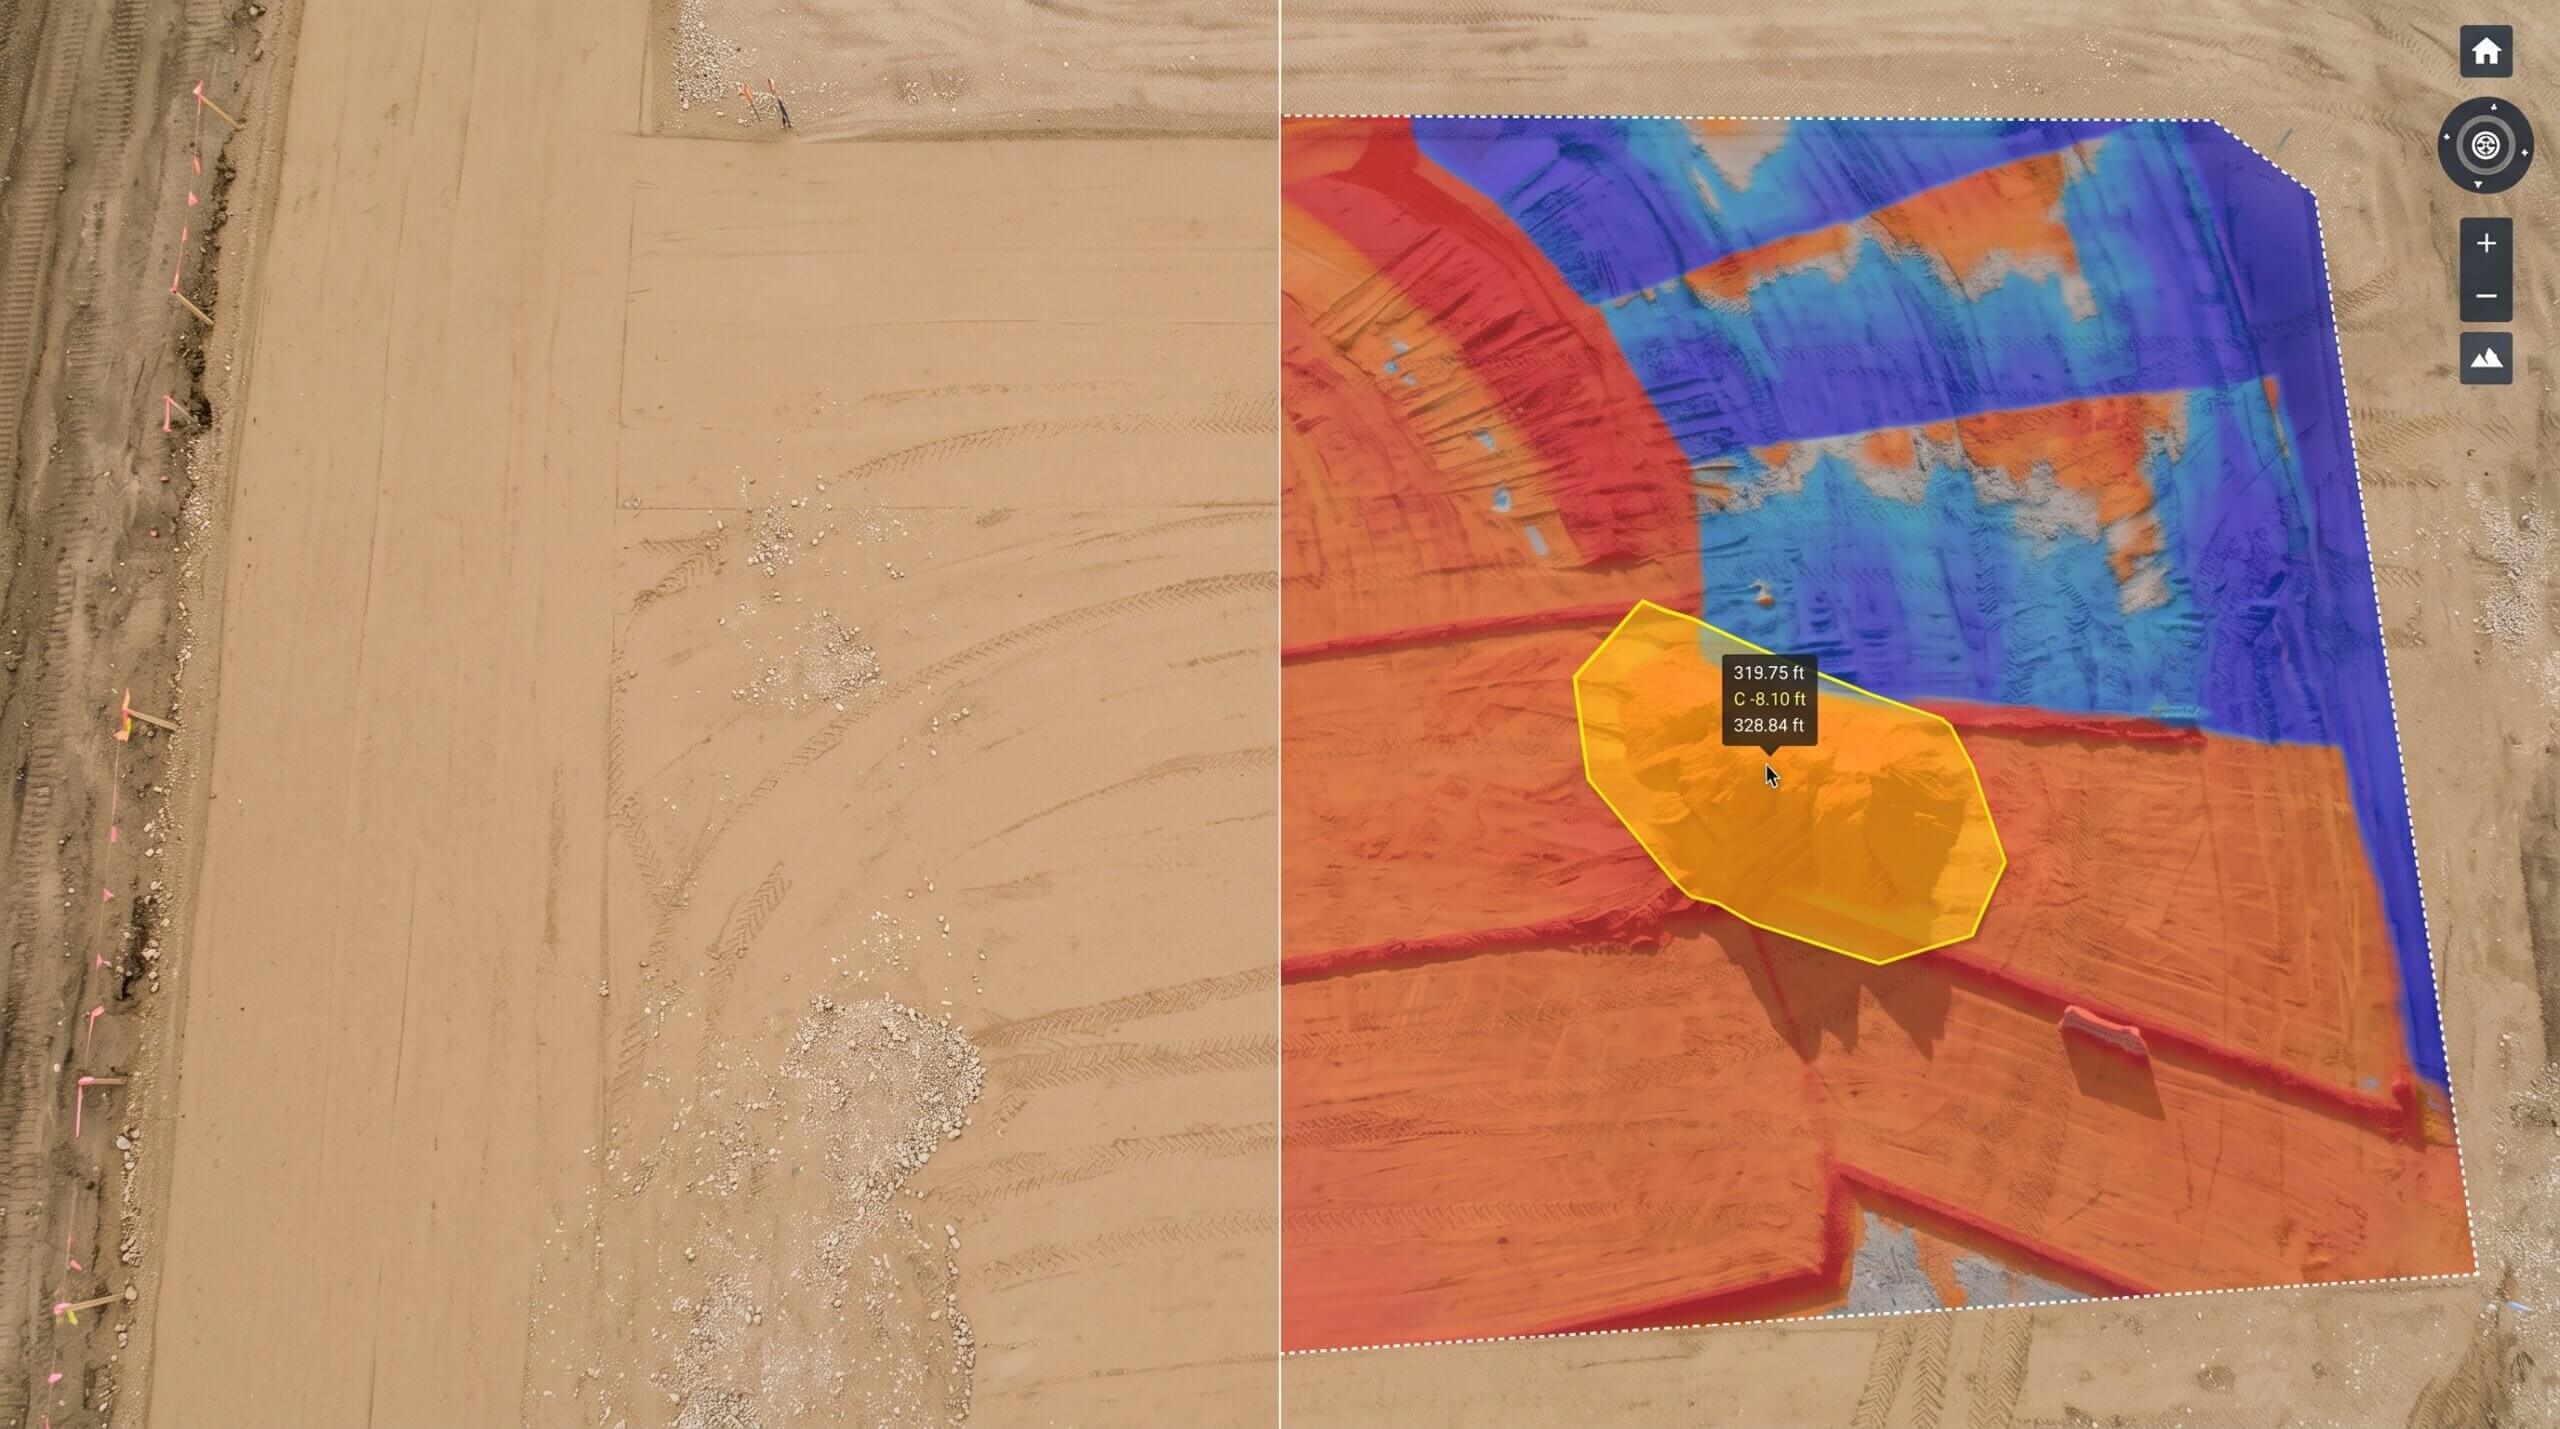
    For a closer look at earthworks, publish the design and use Propeller’s volume calculation tools to compare it with the survey. For drainage questions, Propeller’s separate hydrology tools can help your team explore site conditions.

    Step 5: Publish or export for handoff

    When the concept is ready to share, you can publish it to the site’s design list or export it. DXF and TTM are among the available formats. Confirm the receiving application’s requirements with your survey or design team before the handoff.

    Propeller CAD produces preliminary designs and approximate volumes; it does not produce certified deliverables. A qualified professional reviews the output and provides any required sign-off before construction or field use.

    Make more of the time before handoff

    When a concept lives on the same map as your survey, the team can look at the proposed road, pad, or basin in context. That gives field and office teams a concrete starting point for discussing options and constraints.

    2.5 days
    → 10 minutes
    One earthworks team reduced a preliminary haul road design task from two and a half days to around 10 minutes using Propeller CAD on its site terrain.

    A quicker first concept gives your team more room to explore options and bring a clearer idea to the next conversation. Once work is underway, the design conformance and as-built workflow helps teams compare site conditions with the design.

    Frequently asked questions

    Use a survey that accurately represents the area you’re planning. On an active site, a recent capture can help you account for changes such as moved material or new site features. The right survey date depends on the site and the decision.

    Propeller CAD lets you sketch a location and describe a concept in plain language. Add useful constraints, review the result against your terrain, and refine it with your team.

    You can attach design standards documents in the CAD session to provide context. Review the resulting concept against the requirements that apply to your project.

    You can publish a design to your site’s design list or export it. Available formats include DXF and TTM. Check the receiving team’s workflow and format requirements before sharing. The Propeller CAD guide covers the current steps.

    Quick links

      Related articles

      Cut/fill heat map showing design variance across an earthworks site, with colour-coded elevation differences

      The real cost of catching design variance too late

      Design variance found mid-phase is a quick fix. Found near handover, the same variance can…
      Construction worker using a laptop in a truck cab to access data via API integration

      Put your data to work with Propeller’s integrations + APIs

      Every minute counts in civil construction, aggregates, mining, and waste management—and those lost hours add…

      How drone surveys help you win bids and prove progress

      Accurate drone survey data helps earthworks teams bid competitively, then keeps proving progress and protecting…

      Ready to learn how Propeller can power up your worksite?

      We’re happy to show you how Propeller can power your worksite, and boost productivity.

      Related articles

      Concept design vs. detailed design: What construction teams need to know

      Concept design and detailed design serve different decisions. Concept design, built on real terrain, establishes…